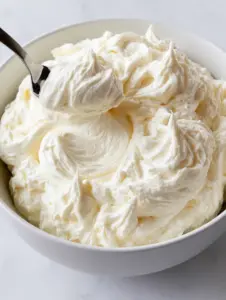
If you have ever struggled with the gritty texture of powdered sugar or the finicky nature of a meringue-based icing, let me introduce you to your new obsession: Russian Buttercream Frosting. This “magic” frosting is taking the baking world by storm for its simplicity and its ethereal, cloud-like results.
Unlike traditional American buttercream, which relies on cups of confectioners’ sugar for structure, this version uses the science of emulsification. By combining high-quality whipped butter with sweetened condensed milk, you achieve a pale ivory buttercream frosting that is as stable as it is beautiful.
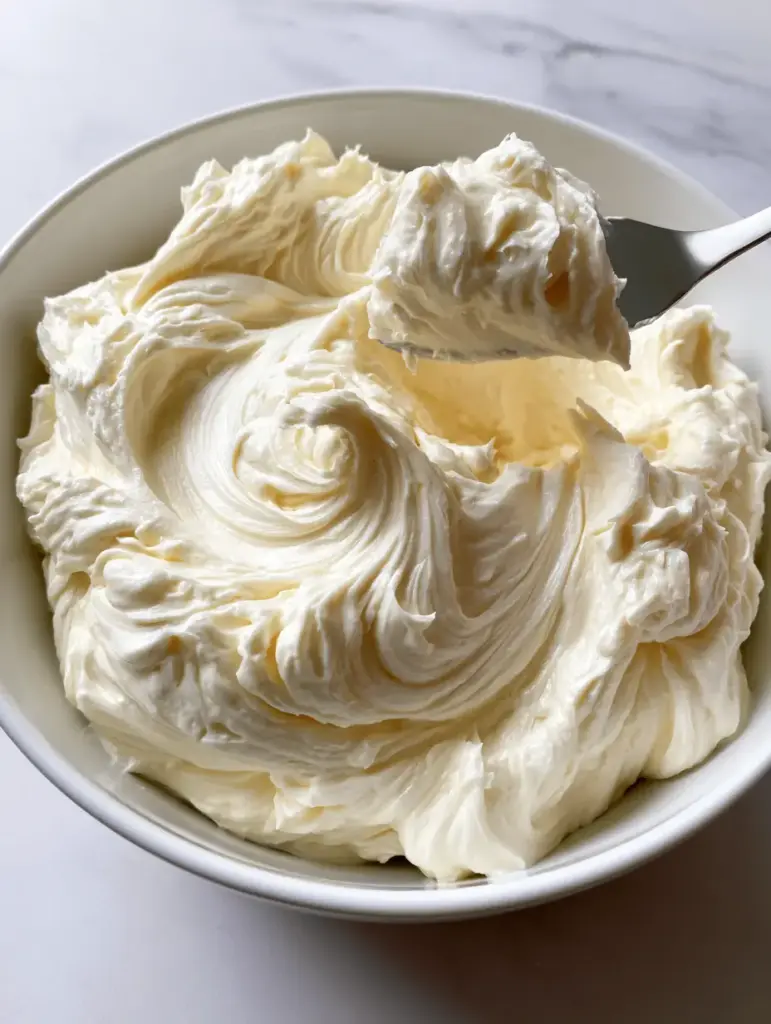
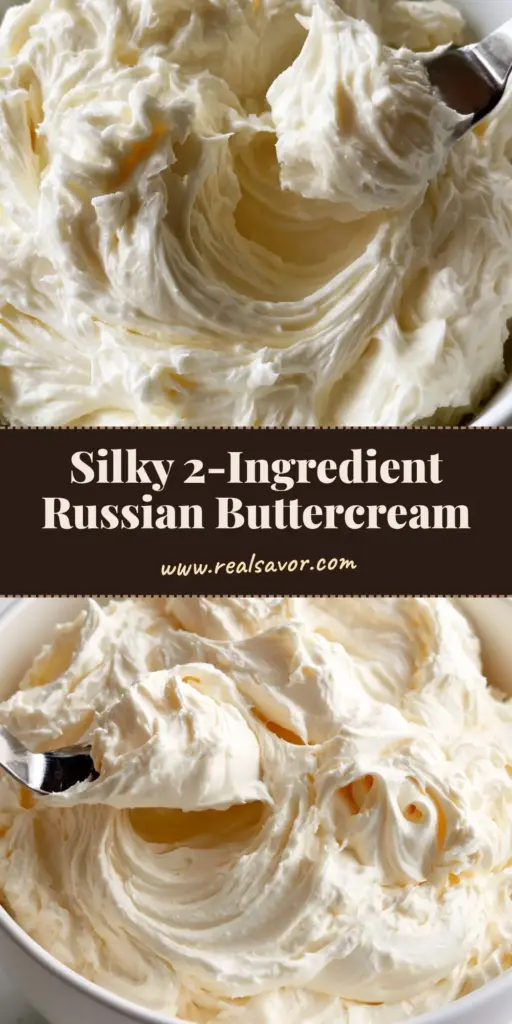
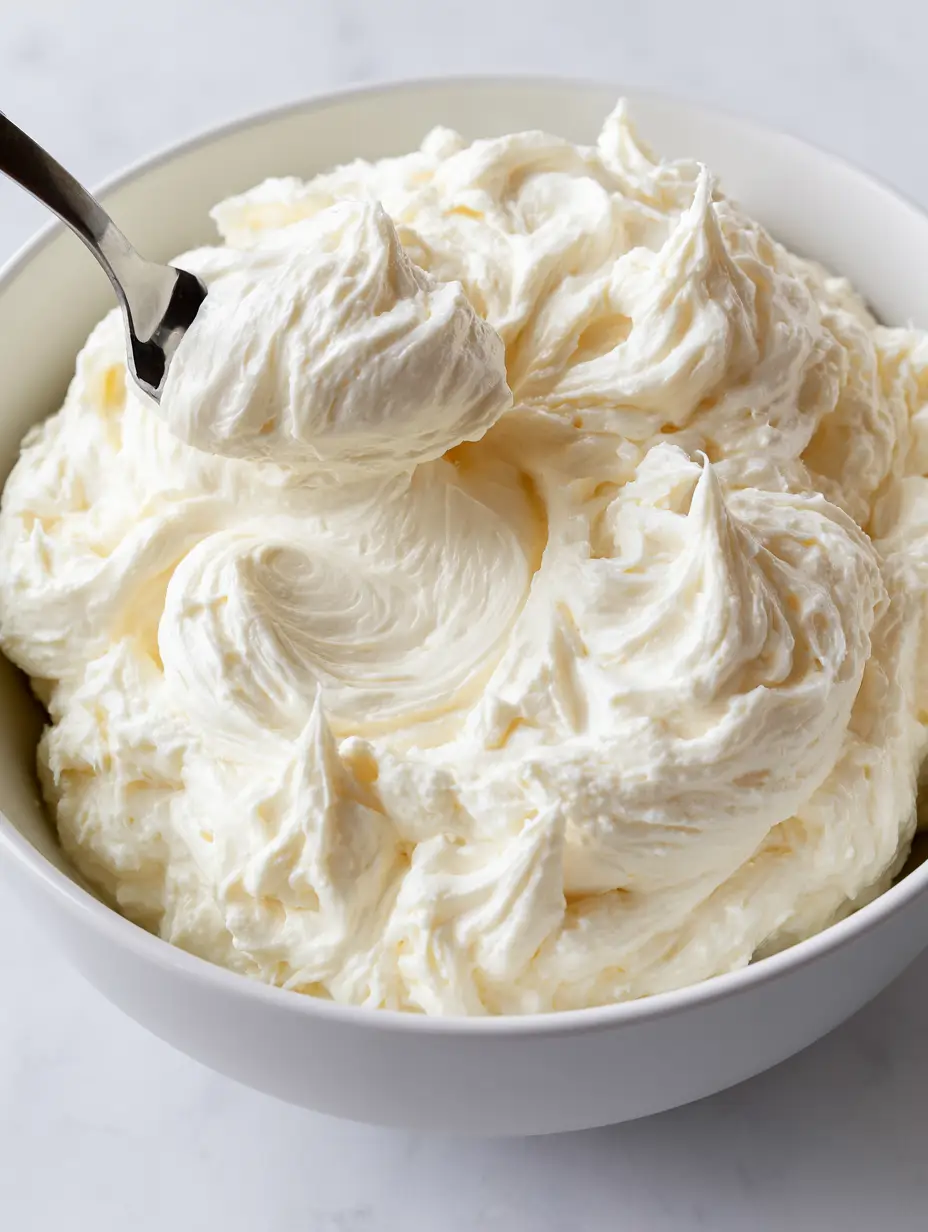
Imagine a frosting so smooth it looks like polished marble. It boasts a glossy finish and soft peaks that hold their shape for hours, making it the ultimate choice for those who demand professional-grade aesthetics with minimal effort. Whether you are topping a classic Neapolitan layer cake (coming soon) or filling delicate macarons, this is the recipe that will elevate your dessert game forever.
The Visual Allure of Condensed Milk Buttercream
What sets Russian Buttercream Frosting apart is its unique physical properties. It doesn’t just taste better; it behaves differently under the spatula. Here is what you can expect from this masterclass in texture:
- Ultra-Glossy Sheen: The high fat content and sugar suspension create a natural luster that glows under soft daylight.
- Velvety Smoothness: Because there is no granulated or powdered sugar, the texture is 100% grit-free and feels like silk on the tongue.
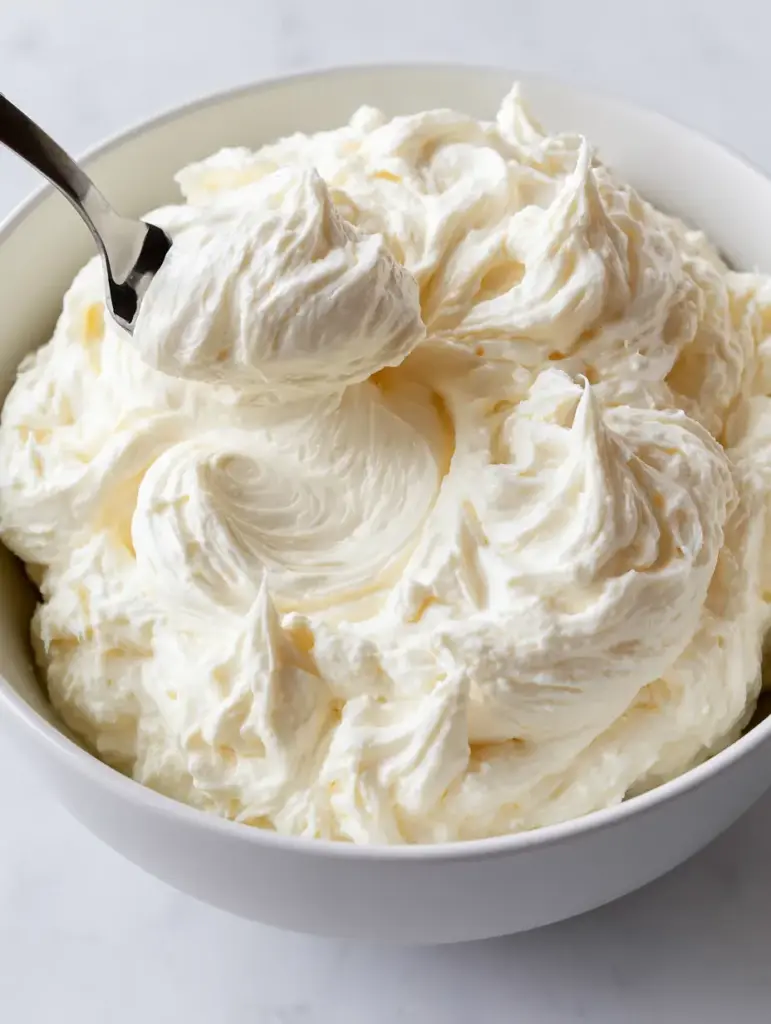
- Stable Soft Peaks: Despite its creamy appearance, it is remarkably stable for piping intricate borders and voluminous swirls.
- Pale Ivory Hue: It moves away from the stark white of shortening-based frostings toward a sophisticated, warm ivory tone.
Essential Components for the Perfect Emulsion
To achieve the “visual recipe blueprint” of a thick, glossy finish, the quality of your ingredients is paramount. While the list is short, each item plays a critical role in the structural integrity of the final product.
High-Quality Unsalted Butter
You will need 1 cup (227g) of high-quality unsalted butter, softened perfectly to room temperature. The butter provides the “body” of the frosting; it must be whipped until it is nearly white and doubled in volume to ensure a light, airy mouthfeel.
Sweetened Condensed Milk
One 14oz (396g) can of sweetened condensed milk acts as both the sweetener and the liquid base for the emulsion. Ensure your milk is at the exact same room temperature as your butter to prevent the mixture from curdling or “breaking.”
Pure Vanilla Bean Paste or Extract
Adding 1 tsp (5ml) of vanilla bean paste provides those tiny black specks that signify “from-scratch” quality. This is an “invisible” foundational ingredient that balances the richness of the fats.
Fine Sea Salt
A generous pinch (about 1/8 tsp) of fine sea salt is essential to cut through the sweetness of the condensed milk. It sharpens the flavor profile and makes the buttercream taste more complex and less cloying.
Tools for Achieving a Bubble-Free Finish
To replicate the look of a professional white ceramic bowl filled with thick, glossy frosting, you need the right gear. A stand mixer fitted with a whisk attachment is non-negotiable for the initial aeration phase.
Once the milk is incorporated, switching to a paddle attachment on the lowest speed helps knock out air bubbles. Finally, a small metal offset spatula is the best tool for creating those signature voluminous swirls and testing for soft peaks.
Step-by-Step Instructions for Russian Buttercream Frosting
Phase 1: The Aeration of the Butter
Place your room temperature butter in the bowl of a stand mixer. Begin whipping on medium-high speed for at least 5 to 7 minutes. You are looking for a specific sensory cue: the butter should transition from a yellow hue to a pale ivory and become incredibly light and fluffy.
Phase 2: The Slow Emulsion Process
Turn your mixer to medium-low. Slowly, and I mean slowly, begin drizzling in the sweetened condensed milk one tablespoon at a time. This allows the fat in the butter to trap the moisture of the milk effectively. If you rush this, the frosting may appear soupy or separated.
Phase 3: Flavoring and Final Smoothing
Add your vanilla and salt. Once all the milk is incorporated, scrape down the sides of the bowl. If you see tiny air bubbles, turn the mixer to the lowest setting and let it “massage” the frosting for 2 minutes until it looks ultra-smooth and velvety, just like the Midjourney prompt visual.
Expert Tips for a Professional Finish
- Temperature Matching: If your butter is too cold, it will clump; if your milk is too cold, the butter will seize. Both must be 68°F (20°C).
- The “Fix” for Curdling: If the frosting looks like cottage cheese, it’s likely too cold. Take a half-cup of the mix, microwave it for 5 seconds, and whisk it back in to raise the overall temperature.
- Color Neutralizing: To get a whiter finish, add a microscopic drop of purple food coloring to neutralize the natural yellow tones of the butter.
- Avoid Over-Whipping at the End: Once the emulsion is formed, stop the high-speed whisking to prevent incorporating too many air pockets.
Storage and Make-Ahead Advice
This Russian Buttercream Frosting can be made in advance, which is a lifesaver for busy bakers. Store it in an airtight container in the refrigerator for up to one week. When you are ready to use it, let it come to room temperature naturally.
Do not try to pipe it while cold, as it will be too firm. Once it reaches room temp, give it a quick 30-second whip with a spatula to restore its glossy finish and soft peaks. You can also freeze this frosting for up to 3 months; just thaw it overnight in the fridge before use.
What to Serve With This Velvety Frosting
Because this frosting is rich and buttery, it pairs exceptionally well with cakes that have a slight acidity or a deep cocoa base. It is the perfect crowning glory for a layered strawberry and chocolate cake (coming soon).
If you are hosting a summer brunch, try using a dollop of this buttercream on top of a creamy fruit-based dessert for an extra layer of decadence. It even works surprisingly well as a dip for a refreshing peach smoothie bowl if you want to get creative with your toppings!
Frequently Asked Questions
No, margarine has a higher water content and lower melting point, which will prevent the frosting from achieving the necessary thick, glossy peaks and structural stability.
It has a milky, caramel-like undertone that is much less sweet than American buttercream. Adding a pinch of salt and high-quality vanilla helps balance the flavor beautifully.
Whip the butter for a full 5-7 minutes until it is very pale. You can also add a tiny drop of violet food coloring to neutralize the yellow tones for a whiter appearance.
It is surprisingly stable due to the fat content of the butter, but like all buttercreams, it will melt in direct heat. It is best used for cakes kept in a cool, air-conditioned environment.
Curdling usually happens when the butter and the sweetened condensed milk are at different temperatures. Ensure both are at room temperature (about 68°F) before mixing to create a stable emulsion.
The Ultimate Russian Buttercream Recipe Card
Russian Buttercream Frosting: The Glossiest 2-Ingredient Silk Frosting
Ingredients
Equipment
Method
- Place softened unsalted butter in a stand mixer bowl. Using the whisk attachment, beat on medium-high speed for 5-7 minutes until the butter is pale ivory, doubled in volume, and ultra-fluffy.
- Lower the mixer speed to medium-low. Slowly drizzle in the sweetened condensed milk one tablespoon at a time, ensuring each addition is fully emulsified before adding the next. The mixture should remain thick and glossy.
- Add the vanilla and salt. Switch to the paddle attachment and mix on the lowest speed for 2 minutes to remove any large air bubbles and achieve a velvety, smooth texture with soft peaks.
Notes
If the mixture separates, warm a small portion and mix it back in.
Master Your Baking Craft
The beauty of Russian Buttercream Frosting lies in its simplicity and its high-end visual appeal. With its thick, glossy texture and stable swirls, it is the bridge between amateur baking and professional pastry art. Once you master the temperature control and the slow-drizzle technique, you will never go back to standard frosters again.
I would love to see your creations! Did you achieve those perfect soft peaks? Leave a comment below and share your success stories. For more visual inspiration and recipe videos, follow us on Pinterest and save this pin to your favorite dessert board!