When the weeknight rush hits, finding a meal that balances gourmet flair with genuine speed is the ultimate culinary challenge. This Spicy Garlic Butter Chicken Tortellini is the definitive answer, merging the comfort of cheese-filled pasta with the bold, punchy aromatics of a restaurant-style butter sauce.
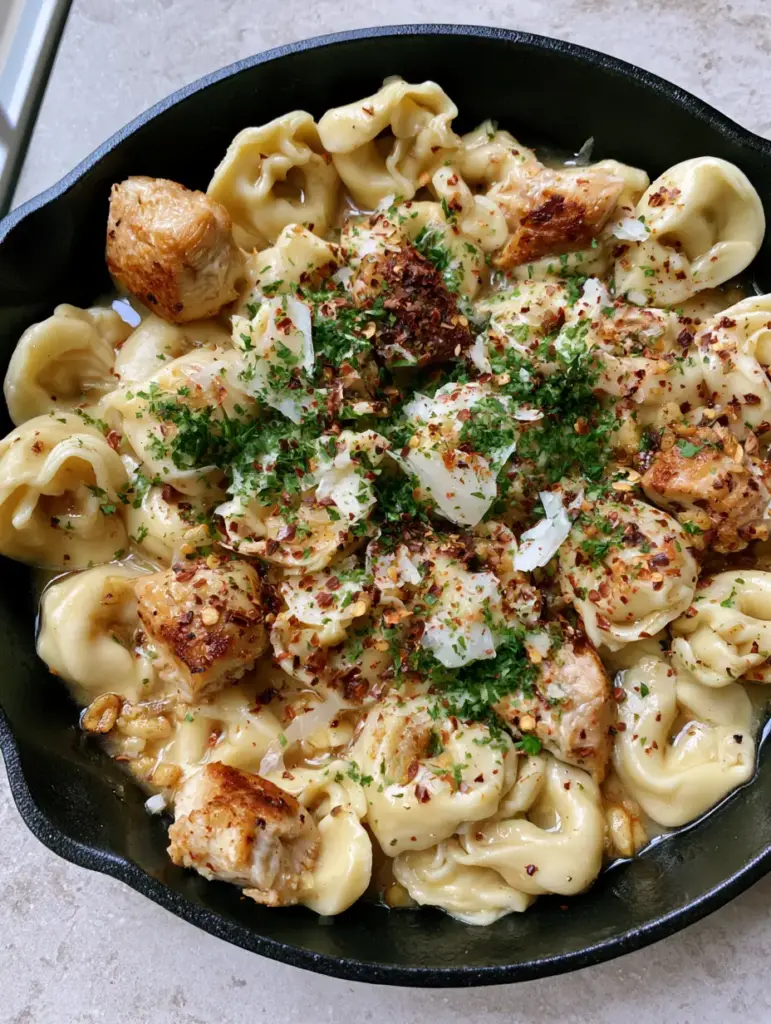
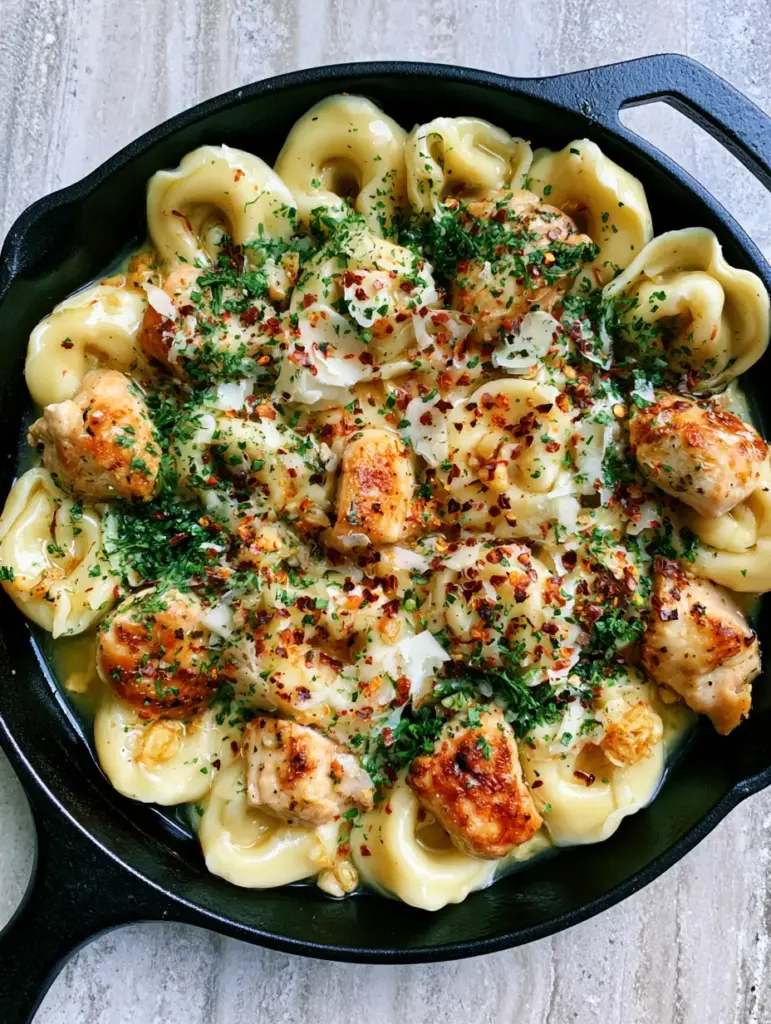
The visual appeal of this dish is immediately striking, featuring plump tortellini and golden-brown seared chicken resting in a black cast iron skillet. The sauce is a glossy, translucent golden emulsion that clings to every curve of the pasta, punctuated by the vibrant red of chili flakes and the deep green of fresh parsley.
This isn’t just a quick meal; it is a masterclass in building flavor through simple techniques like searing and emulsification. Whether you are hosting a casual dinner or looking for a high-protein recovery meal, this recipe delivers on every sensory promise.
Why You Will Crave This Spicy Garlic Butter Chicken Tortellini
- Perfect Textural Contrast: You get the soft, pillowy bite of cheese tortellini paired against the firm, savory crust of perfectly seared chicken breast.
- The Glossy Emulsion: By using reserved pasta water, we create a professional-grade garlic butter sauce that is translucent and silky, never greasy or broken.
- Balanced Heat: The warmth of the crushed red pepper flakes cuts through the richness of the butter and cheese, providing a lingering, sophisticated spice.
- Visual Sophistication: With fine shavings of white Parmesan and toasted bits of minced garlic, this dish looks like it was pulled straight from a professional food photography set.
The Foundation: Essential Ingredients for the Perfect Garlic Butter Sauce
Every ingredient in this Spicy Garlic Butter Chicken Tortellini has been selected to contribute to the final visual and flavor profile described in our culinary blueprint. Quality matters when the ingredient list is this focused.
Cheese-Filled Tortellini: 1 lb (450g). We recommend refrigerated tortellini for the best “plump” texture and a faster cook time compared to dried varieties.
Chicken Breast: 1 lb (450g). Cut these into 1-inch (2.5cm) bite-sized pieces to ensure they sear quickly and remain juicy while developing that essential golden-brown crust.
Unsalted Butter: 4 tbsp (56g). This provides the “glossy” base for our sauce; using unsalted allows you to control the seasoning precisely during the cooking process.
Extra Virgin Olive Oil: 1 tbsp (15ml). A small amount of oil is used alongside the butter to increase the smoke point, allowing the chicken to sear without burning the fats.
Fresh Garlic: 6 cloves, minced. This is the heart of the dish; the garlic should be sautéed until it reaches a “toasted” golden hue as seen in the visual prompt.
Crushed Red Pepper Flakes: 1 tsp (2g). This provides the “spicy” element, distributed throughout the sauce to create those beautiful red specks against the golden butter.
Shaved Parmesan Cheese: 1/4 cup (25g). Use a vegetable peeler to create fine shavings rather than grated powder for a more elegant, professional presentation.
Fresh Italian Parsley: 2 tbsp (8g), finely chopped. The vibrant green color provides a necessary visual lift and a fresh herbaceous finish to the heavy flavors.
Foundational Seasonings: 1 tsp (6g) Kosher salt and 1/2 tsp (1g) cracked black pepper. These are “invisible” essentials required to elevate the natural flavors of the poultry and pasta.
Kitchen Tools for a Professional Skillet Finish
To achieve the authentic, rustic look of this dish, a 12-inch (30cm) black cast iron skillet is highly recommended. The heavy bottom retains heat effectively, ensuring the chicken develops a deep brown crust through the Maillard reaction.
You will also need a large pot for boiling the tortellini and a pair of stainless steel tongs. Tongs are essential for flipping the chicken pieces individually to ensure even browning on all sides.
Finally, keep a small heat-proof measuring cup nearby. This is crucial for “reserving” the pasta water, which contains the starch needed to turn your butter and garlic into a cohesive, glossy sauce.
Mastering the Sear: Step-by-Step Instructions
Follow these steps closely to ensure your Spicy Garlic Butter Chicken Tortellini matches the visual and culinary standards of an elite kitchen. Pay attention to the sensory cues to know exactly when to move to the next phase.
Step 1: Prep Your Protein and Pasta
Bring a large pot of salted water to a rolling boil. While the water heats, pat your chicken breast pieces dry with a paper towel; moisture is the enemy of a good sear.
Season the chicken liberally with salt and pepper. Once the water is boiling, add the tortellini and cook for 1-2 minutes less than the package directions—they should be “al dente” as they will finish cooking in the butter sauce.
Step 2: Achieving the Golden-Brown Chicken Crust
Place your cast iron skillet over medium-high heat and add the olive oil. Once the oil is shimmering and just beginning to wisps of smoke, add the chicken pieces in a single layer.
Do not crowd the pan, as this causes the chicken to steam rather than sear. Let them sit undisturbed for 3 minutes until a deep, golden-brown crust forms, then flip and cook for another 2 minutes.
Step 3: Building the Glossy Garlic Butter Emulsion
Reduce the heat to medium and add the butter to the skillet with the chicken. Once the butter is melted and foaming, toss in the minced garlic and the crushed red pepper flakes.
Sauté the garlic for about 1 minute. Look for the garlic to turn a light toasted tan; it should smell fragrant and nutty, but be careful not to let it turn dark brown or bitter.
Step 4: The Final Garnish and Assembly
Transfer the cooked tortellini directly from the water into the skillet using a slotted spoon. Add 1/4 cup (60ml) of the starchy pasta water to the pan.
Toss everything vigorously. The starch in the water will emulsify with the melted butter, creating that signature glossy, translucent golden sauce that coats each piece of pasta perfectly.
Remove from heat and garnish immediately with the shaved Parmesan, chopped parsley, and an extra sprinkle of red chili flakes for visual impact. Serving this in the skillet preserves the “handheld smartphone photo” aesthetic of a rustic home-cooked meal.
Pro-Level Secrets for Success
- Don’t Drain All the Water: The most common mistake is draining the pasta and losing the “liquid gold.” That starchy water is what prevents the sauce from being oily.
- The Butter Temperature: Add the butter after the chicken is seared. If you add it too early, the milk solids in the butter will burn before the chicken is browned.
- Tortellini Choice: If you use frozen tortellini, do not thaw them first. Drop them straight into the boiling water, but add an extra 60 seconds to the cook time.
- The “Glossy” Check: If the sauce looks too thick or “tight,” add another tablespoon of pasta water until it flows like liquid silk.
Fresh and Flavorful Pairings
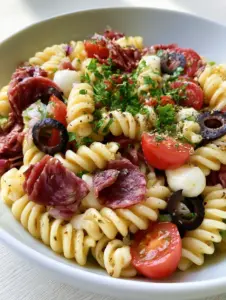
While this Spicy Garlic Butter Chicken Tortellini is a complete meal on its own, it pairs beautifully with high-contrast side dishes. A crisp, acidic salad like a Mediterranean pasta salad can offer a refreshing break from the rich butter sauce.
If you are looking for more protein-heavy options to serve alongside a larger spread, consider the smoky notes of a ginger lime pork (coming soon) or the handheld convenience of a chicken torta sandwich (coming soon). For those who love a spicy theme, starting the meal with some taco hummus (coming soon) and pita chips provides a great texture variety.
Preservation and Reheating Strategies
This dish is best enjoyed immediately while the butter emulsion is at its peak silkiness. However, leftovers can be stored in an airtight container in the refrigerator for up to 3 days.
When reheating, avoid the microwave if possible, as it can cause the butter to separate. Instead, place the tortellini in a small skillet over low heat with a splash of water or chicken broth. Stir gently until the sauce becomes glossy again and the chicken is warmed through.
Frequently Asked Questions
Yes, you can use frozen tortellini. Do not thaw them first; add them directly to the boiling water and increase the cook time by 1-2 minutes until they float and are tender.
For a milder dish, reduce the crushed red pepper flakes to 1/4 teaspoon. For extra heat, add a pinch of cayenne pepper to the butter sauce while sautéing the garlic.
Add the garlic only after the chicken is fully seared and the heat has been reduced to medium. Sauté for no more than 60 seconds until it is fragrant and light golden.
Boneless, skinless chicken thighs are an excellent substitute. They are more forgiving and remain juicy, though they may take 1-2 minutes longer to sear properly.
The secret is the starchy pasta water. When tossed with the melted butter, the starch acts as an emulsifier, binding the fat and liquid into a silky, translucent coating.
The Perfect Spicy Garlic Butter Chicken Tortellini Recipe
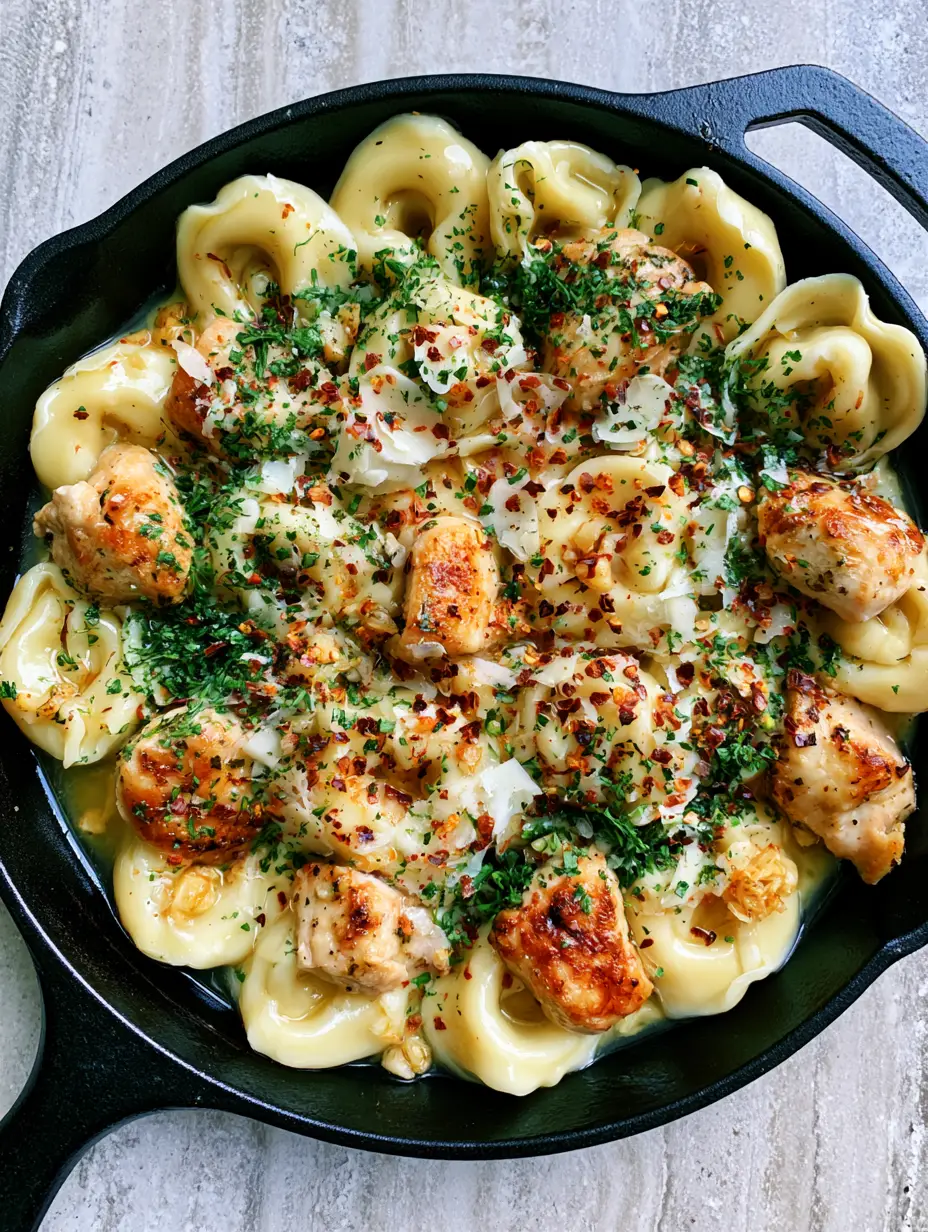
Spicy Garlic Butter Chicken Tortellini: The Ultimate 20-Minute Skillet Dinner
Ingredients
Equipment
Method
- Bring a large pot of salted water to a boil. Cook tortellini for 1-2 minutes less than package instructions. Reserve 1/2 cup of pasta water before draining.
- Pat chicken dry with paper towels. Season with salt and black pepper.
- Heat olive oil in a cast iron skillet over medium-high heat. Add chicken and sear for 3-5 minutes until golden-brown on all sides.
- Reduce heat to medium. Add butter, minced garlic, and red pepper flakes. Sauté for 1 minute until garlic is toasted and fragrant.
- Add the cooked tortellini and 1/4 cup of reserved pasta water to the skillet. Toss vigorously until the sauce is glossy and translucent.
- Top with shaved parmesan cheese, chopped fresh parsley, and extra red pepper flakes. Serve immediately in the skillet.
Notes
Use a high-quality cast iron skillet for the best golden-brown sear on the chicken.
Closing & Call to Action
Mastering the Spicy Garlic Butter Chicken Tortellini is a guaranteed way to upgrade your weeknight dinner rotation. The combination of toasted garlic, spicy chili, and rich butter creates a flavor profile that tastes much more complex than its 20-minute cook time suggests.
If you enjoyed this recipe, please leave a comment below and let us know how your sear turned out! Don’t forget to follow us on Pinterest for more visually stunning and high-flavor recipes. Share your skillet photos and tag us—we love seeing your culinary creations!