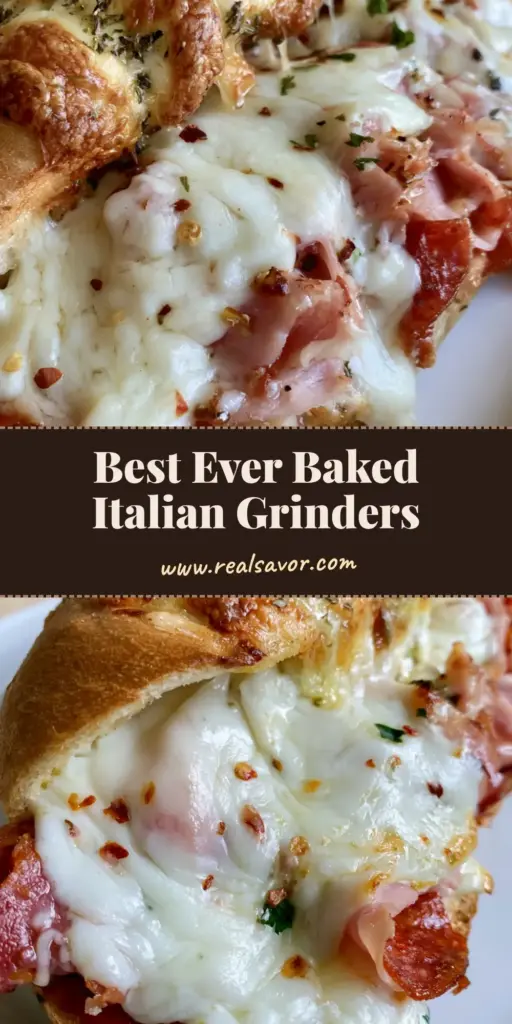
The Baked Italian Grinder Sandwiches are a masterclass in texture, combining the crunch of a toasted baguette with the rich, savory depth of high-quality Italian deli meats. This isn’t just a sandwich; it is a warm, toasted experience that brings the local deli right into your kitchen with minimal effort but maximum flavor impact.
There is something undeniably satisfying about watching cheese transform into a bubbly, golden-brown blanket over layers of spicy salami and pepperoni. Our version focuses on a specialized herb-flecked butter that seeps into the crusty sub roll, ensuring every bite is infused with garlic, oregano, and a hint of heat.
Inspired by the classic East Coast grinders, these sandwiches are built for those who crave a handheld meal with professional-grade structural integrity. Whether you are hosting a game day or looking for a weeknight dinner that will actually get the kids excited, this recipe delivers on every sensory promise.
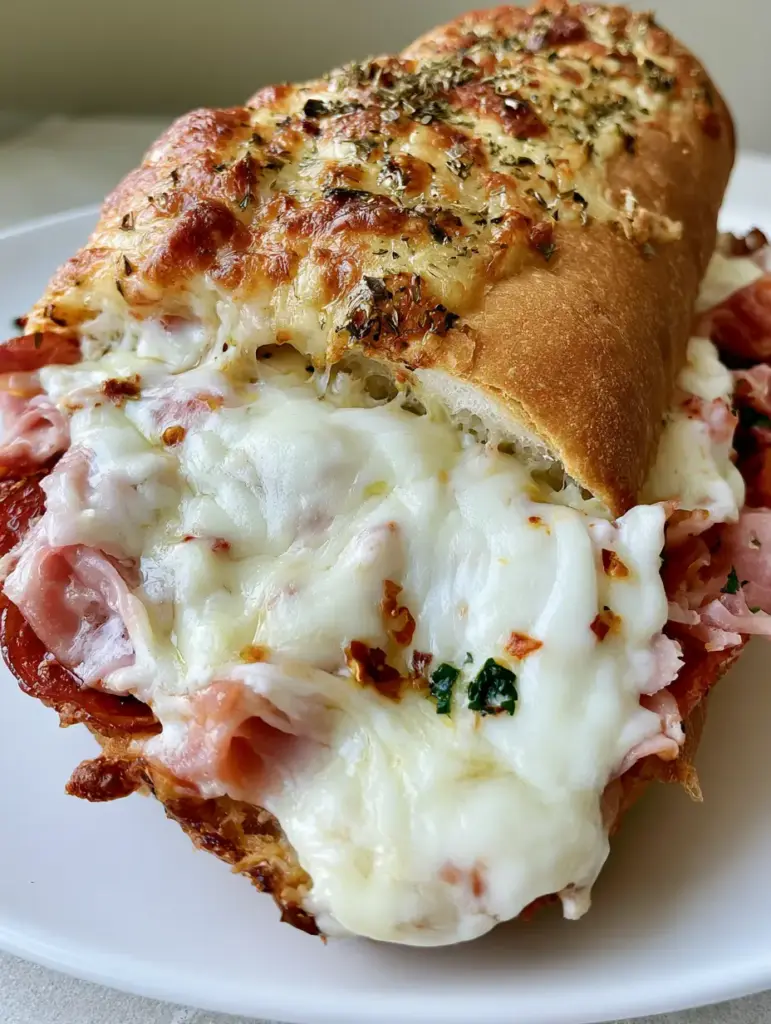
Why These Oven-Toasted Grinders Are a Total Game Changer
- Visual Perfection: Every sandwich features a golden-brown, toasted top crust that crackles upon impact, revealing a soft, buttery interior.
- The Triple Threat of Meat: By layering thinly sliced ham, spicy salami, and pepperoni, we create a complex salt-and-spice profile that hits every part of the palate.
- Bubbly Mozzarella Mastery: We use a thick layer of mozzarella cheese that melts into the crevices of the meat, acting as the perfect “culinary glue” for the sandwich.
- Herb-Infused Finish: The addition of dried oregano and crushed red pepper flakes into the melted butter provides an aromatic punch that elevates the bread from a mere vessel to a star ingredient.
The Anatomy of an Elite Italian Deli Spread
Toasted Baguette Sub Rolls: You need a bread with enough structure to withstand the heat without becoming soggy. A crusty French-style baguette or a dense Italian sub roll is the ideal choice for the ultimate crunch.
Unsalted Butter (4 tbsp / 60g): This serves as the base for our herb wash. Using unsalted butter allows us to control the sodium levels, which is important when working with salty deli meats like pepperoni.
Dried Oregano and Red Pepper Flakes: These are the signature “pizza shop” aromatics. They provide that classic Italian-American scent that defines a true “grinder” experience.
Thinly Sliced Deli Ham (1/2 lb / 225g): Choose a mild, honey-roasted or Black Forest ham. It provides a sweet, lean contrast to the fattier, spicier cured meats in the stack.
Spicy Salami (1/4 lb / 115g): Look for Genoa or Sopressata. The heat in the salami cuts through the richness of the melted mozzarella cheese beautifully.
Pepperoni (1/4 lb / 115g): Standard deli-sized pepperoni slices are best. They crisp up slightly around the edges during the baking process, adding a much-needed textural variance.
Mozzarella Cheese (8 oz / 225g): Low-moisture, part-skim mozzarella is the secret to getting those long, gooey cheese pulls. Fresh mozzarella has too much water and can lead to a soggy bottom.
Fresh Parsley (1 tbsp / 4g): Finely chopped parsley added at the end provides a bright, herbaceous finish and a pop of green color that balances the heavy, savory tones of the meats.
Essential Gear for the Perfect Golden-Brown Crust
To achieve the specific visual result of a “handheld smartphone photo” quality sandwich, your equipment matters. A large, rimmed baking sheet is essential for heat circulation, ensuring the rolls toast evenly on all sides.
I also recommend using parchment paper to catch any stray cheese that bubbles over the sides. This not only makes cleanup easier but allows those “cheese skirts” to crisp up into delicious, lacy bits that you can tuck back into the sandwich.
A pastry brush is your best friend here. It allows you to evenly distribute the herb-flecked butter across the top of the crusty sub roll, ensuring no spot is left dry or unseasoned before it hits the oven.
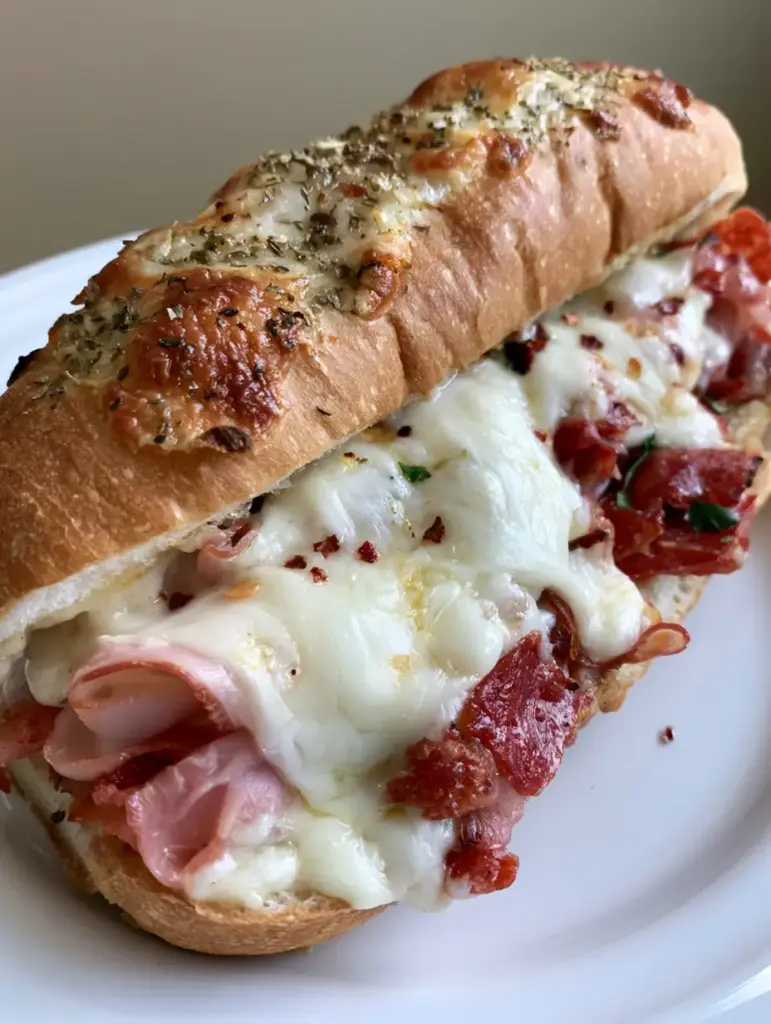
Mastering the Baked Italian Grinder Sandwiches: Step-by-Step
1. Preparing the Herb Butter Infusion
In a small microwave-safe bowl, melt 4 tbsp (60g) of unsalted butter until it is completely liquid. Whisk in 1 tsp (2g) of dried oregano, 1/2 tsp (1g) of crushed red pepper flakes, and a pinch of garlic powder.
Let this mixture sit for 5 minutes. This “steeping” process allows the oils in the dried herbs to bloom, creating a more fragrant and flavorful wash for your sub rolls.
2. The Art of the Meat Stack
Preheat your oven to 400°F (200°C). Slice your sub rolls lengthwise, being careful not to cut all the way through if you prefer a “hinged” sandwich for easier handling.
Layer the deli ham first on the bottom half. Follow this with the spicy salami and then the pepperoni. Stacking the ham at the bottom creates a thermal barrier that prevents the bread from getting too oily from the pepperoni fats.
3. The Mozzarella Blanket
Generously cover the meat with the shredded or sliced mozzarella cheese. Ensure the cheese extends to the very edges of the roll; this creates the “bubbly” visual effect described in our blueprint.
Place the sandwiches on your prepared baking sheet. Keep the sandwiches “open-faced” for the first part of the bake to ensure the cheese melts thoroughly and the meats get warm.
4. The Golden-Brown Bake
Transfer the baking sheet to the middle rack of the oven. Bake for 8-10 minutes. Look for the cheese to be completely melted and starting to show small, golden-brown bubbles.
Close the sandwiches and use your pastry brush to coat the top crust with the herb-flecked butter. Return to the oven for another 3-5 minutes until the bread is visibly golden and the aroma of toasted oregano fills the kitchen.
5. Finishing Touches and Sensory Cues
Once removed from the oven, the sandwiches should feel firm and crusty to the touch. Sprinkle the finely chopped fresh parsley over the top and add an extra pinch of red pepper flakes for visual flair.
Let the sandwiches rest for 2 minutes before slicing. This allows the cheese to set slightly so it doesn’t all slide out when you take that first, crunchy bite.
Pro Secrets for the Ultimate Toasted Texture
- The Steam Hack: If your baguette feels too hard before baking, lightly spritz the outside with a fine mist of water. This creates a bit of steam in the oven, resulting in a crackly, thin crust rather than a rock-hard one.
- Weight It Down: For a more “pressed” panini-style grinder, place a second baking sheet on top of the closed sandwiches for the final 5 minutes of baking.
- Cheese Choice: While mozzarella is classic, adding 2 oz (55g) of Provolone provides a sharper tang that complements the spicy salami perfectly.
- Avoid the Sog: Never add lettuce, tomato, or “grinder salad” dressing before baking. These should always be added cold after the sandwich has been toasted to maintain the contrast between hot meat and crisp vegetables.
Meal Prep, Storage, and Reheating Logic
These sandwiches are best enjoyed immediately while the cheese is gooey and the bread is crisp. However, if you have leftovers, wrap them tightly in aluminum foil and store them in the refrigerator for up to 2 days.
To reheat, do not use the microwave, as it will turn your crusty baguette into a rubbery mess. Instead, place the foil-wrapped sandwich back into a 350°F (175°C) oven for 10-12 minutes.
For the last 2 minutes of reheating, open the foil to allow the crust to crisp back up. This method preserves the “toasted golden crust” that makes the Baked Italian Grinder Sandwiches so special.
The Ultimate Deli Platter Pairings
To turn these sandwiches into a full feast, consider the balance of flavors. Since the grinder is heavy and savory, a bright, acidic side dish is the perfect companion.
I highly recommend serving these alongside a High Protein Italian Pasta Salad to keep the Mediterranean theme going. The vinegar in the salad cuts right through the richness of the melted butter and cheese.
If you’re looking for something more vegetable-forward, a Mediterranean Pasta Salad or a refreshing Chicken Street Corn Salad provides a great textural contrast. For a different sandwich vibe on another night, you might even enjoy comparing this to a Chipotle Chicken Torta (coming soon) or a Classic Smash Burger.
Frequently Asked Questions
You can assemble the meat and cheese on the rolls up to 4 hours in advance. However, do not apply the herb butter or bake them until you are ready to serve to ensure the bread stays crisp.
Layering the ham on the bottom first acts as a barrier against the fats from the pepperoni and salami. Also, using low-moisture mozzarella instead of fresh mozzarella helps significantly.
Yes! You can replace the deli meats with roasted red peppers, marinated artichokes, and sliced zucchini, then follow the same baking instructions with the herb butter and mozzarella.
A crusty baguette or a dense Italian sub roll is best. You need a bread with a sturdy exterior that can handle the weight of the meats and the heat of the oven without collapsing or getting soggy.
While often used interchangeably, a ‘grinder’ specifically refers to a sandwich that is served hot or toasted, whereas a sub can be served cold.
The Official Baked Italian Grinder Sandwiches Recipe
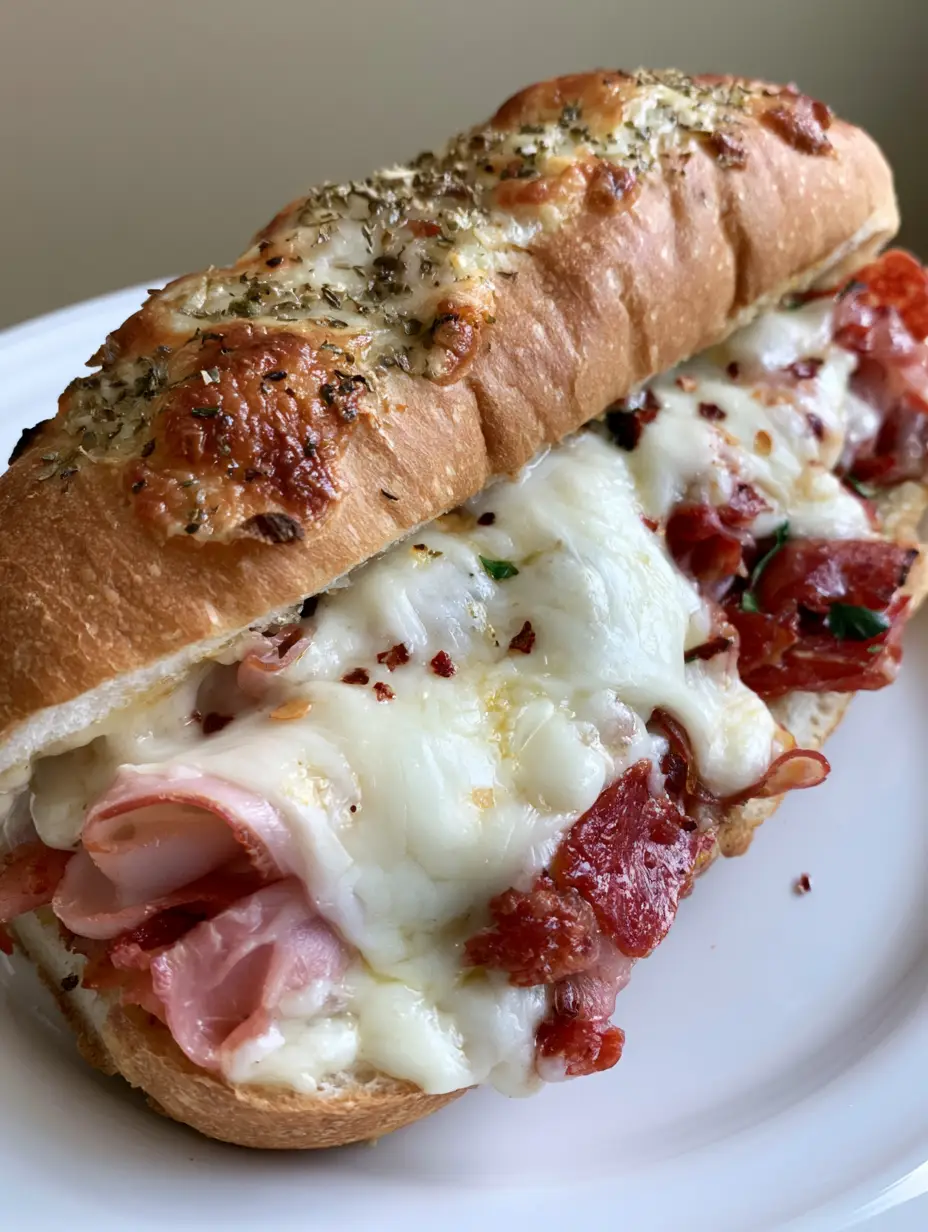
Baked Italian Grinder Sandwiches with Melted Herb Butter and Gooey Mozzarella
Ingredients
Equipment
Method
- Preheat your oven to 400°F (200°C) and line a baking sheet with parchment paper.
- Whisk together melted butter, dried oregano, and red pepper flakes in a small bowl; set aside to bloom.
- Open the sub rolls and layer ham, salami, and pepperoni on the bottom half.
- Top the meats with a thick layer of mozzarella cheese, ensuring it reaches the edges for maximum melt.
- Bake open-faced for 8-10 minutes until cheese is bubbly and starting to brown.
- Close the sandwiches, brush the top crust generously with the herb butter, and bake for another 3-5 minutes until golden brown.
- Sprinkle with fresh parsley and serve hot.
Notes
For a spicier kick, add sliced banana peppers or jalapeños after baking.
Share Your Toasted Masterpiece!
There is nothing quite like the crunch of a perfectly toasted grinder. If you made these Baked Italian Grinder Sandwiches, we want to hear about it! Did you add extra peppers? Did you use a specific type of local baguette?
Leave a comment below and give us a rating. Don’t forget to snap a photo and share it with us on Pinterest. Your feedback helps our community of home cooks grow!